
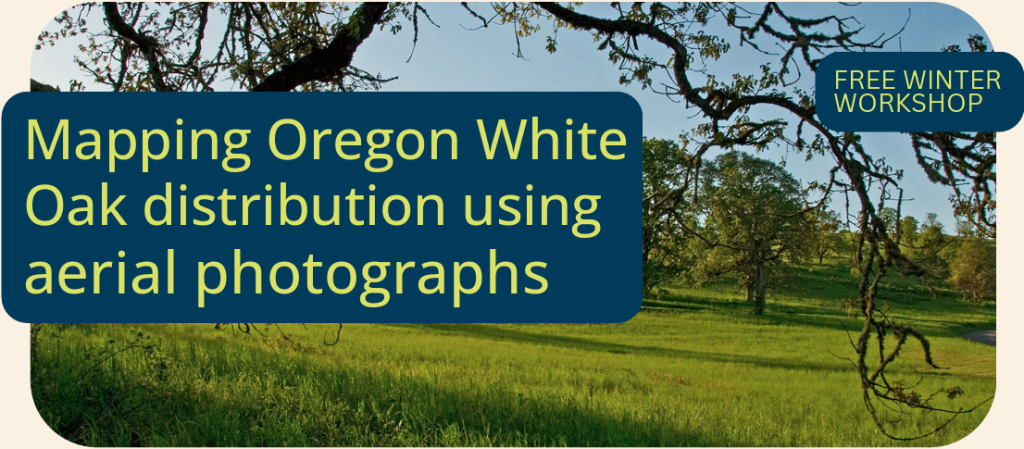
From 2014-2019, the Portland-Vancouver Oak Prairie Working Group (OPWG) painstakingly, systematically hand-mapped the region’s oak using aerial photos at 1:10,000 ft scale, resulting in a high-quality dataset that is broadly used for conservation efforts such as land acquisition, connectivity mapping, new urban area planning, and more. You can view the data here: https://www.theintertwine.org/projects/oak-prairie-work-group.
In a two-part workshop that took place on December 8 and 15, the OPWG, Metro, Ecostudies Institute, and Pacific Birds organized a free winter 2025 oak mapping workshop for the CPOP community. This included a 3-hour, online, live demonstration workshop in which Metro’s Lori Hennings showed attendees how the OPWG mapped oak distribution over a large region, followed by a 2-hour online interactive Q&A session.
Recordings from the workshops are available below, in addition to the shared “homework” files and resources.
Workshop 1 Recording
Workshop 2 Recording
Homework Files
The shared homework files include:
- Homework Training Sample – Boundary: provides the outline (a section within the US Township/Range/Section system) for the Tualatin Hills Nature Park area for you to look at oak samples before you start mapping your homework.
- Homework Training Sample – Oak Presence: shows where we mapped oak within the boundary. Expect a few errors, our aerials weren’t as good back then. This is just so you have some mapped oak to look at for reference.
- Homework Boundary – 2 Sections: this provides the two grid cells within which you’ll be mapping oak for your homework.
- Homework Solution: where we mapped oak so you can see how your data compares to our mapping.
- Collect Data File: this is the file you’ll use to start collecting data for homework. You can also use it to start collecting data in your own study area.
Step-by-step instructions for adding oak data:
- Open Google Earth and start and name a new map project so you can find your mapping again.
- Download the files to your own drive then upload them, or import them directly from Google Drive using “File > Import.” Drag-and-drop sometimes works.
- Open the KMZ Collect Data File in Google Earth.
- Expand the “Homework – Section 17” folder – you’ll see two example placemarks (one oak canopy point and one questionable oak canopy point).
- Right-click on placement and choose “Properties.”
- Edit these four fields for each of the placemarks with your information:
- Species: Oregon White Oak or Potential Oregon Oak
- Collector: [Your name here]
- Date: [Today’s date]
- Grid: Section 17, 18, or practice area
- Notes: [Optional, add if needed]
- To add more points, copy and paste the placemark you just edited (this keeps all your information and the correct symbol).
- Right-click the new placemark, choose “Properties,” then drag it on the map to the new location.
For questions, please reach out to Lori Hennings at lori.hennings@oregonmetro.gov.